Dance Dance Substitution (2019)
By Justin Gamiao, Reno Kim, and Jake Scheuler
Introduction
This visual arts project was made for the Electronic Technologies for Art I class at UC San Diego – a class that aims to introduce the basics and artistic theories of electronic art installation. Dance Dance Substitution was the final project for the 10-week long class, in which we were to ideate, develop, and execute an electronic installation piece of our own design in a span of 4 weeks. The only requirements was that it had to be an original piece that must respond to human interaction, either passive or intentional. Additionally, we had to use the various tools, softwares, and hardwares taught to us in the class.
Concept
At the time, our team happened to consist of players familiar with the rhythm video game genre – video games and arcade games that are meant to test a player's rhythmic ability. We wanted to take our personal passion and transform it into a project idea.
The main idea behind our project was to create a dynamic reinvention of the Dance Dance Revolution (hereafter DDR) game pad/controller. The original controller had players stomping four arrows on the ground to the beat of a song displayed on the screen, in order to accumulate a high score. Interestingly enough, the only required movement in this game is to move your feet; any need of your arms and hands is unnecessary.
The end goal was to try and create a new controller that allows players to experience the same video game, but in a way that forces players to use the other half of the body that often was neglected in regular play.
Tools used: ArduinoLeonardo, Laser cutting/engraving
Softwares used: Adobe Illustrator, 3DS Max, Stepmania
Here is our process of creating Dance Dance Substitution.
Phase 1: Code Debugging
We first created a basic prototype using cardboard, sponge, and an Arduino, to test if our code works. Our goal was to use alligator clippings on the foil of two sides of the cardboard would register input on the Arduino. We separate the foil by using a sponge in between, so that if you step on the board, the two pieces of foil that are hooked up to separate alligator clips will touch, sending an electronic signal to the breadboard.
We first created a basic prototype using cardboard, sponge, and an Arduino, to test if our code works. Our goal was to use alligator clippings on the foil of two sides of the cardboard would register input on the Arduino. We separate the foil by using a sponge in between, so that if you step on the board, the two pieces of foil that are hooked up to separate alligator clips will touch, sending an electronic signal to the breadboard.
Phase 2: 3D Prototyping
After debugging the code and working out the logistics of the circuitry, we moved onto creating a 3D model of what the controller will look like using 3DS Max. This allowed us plan the materials that we needed for the project. Our main inspiration for the build of it were telephone booths and arcade machines.
After debugging the code and working out the logistics of the circuitry, we moved onto creating a 3D model of what the controller will look like using 3DS Max. This allowed us plan the materials that we needed for the project. Our main inspiration for the build of it were telephone booths and arcade machines.
Phase 3: Assembly & Aesthetics
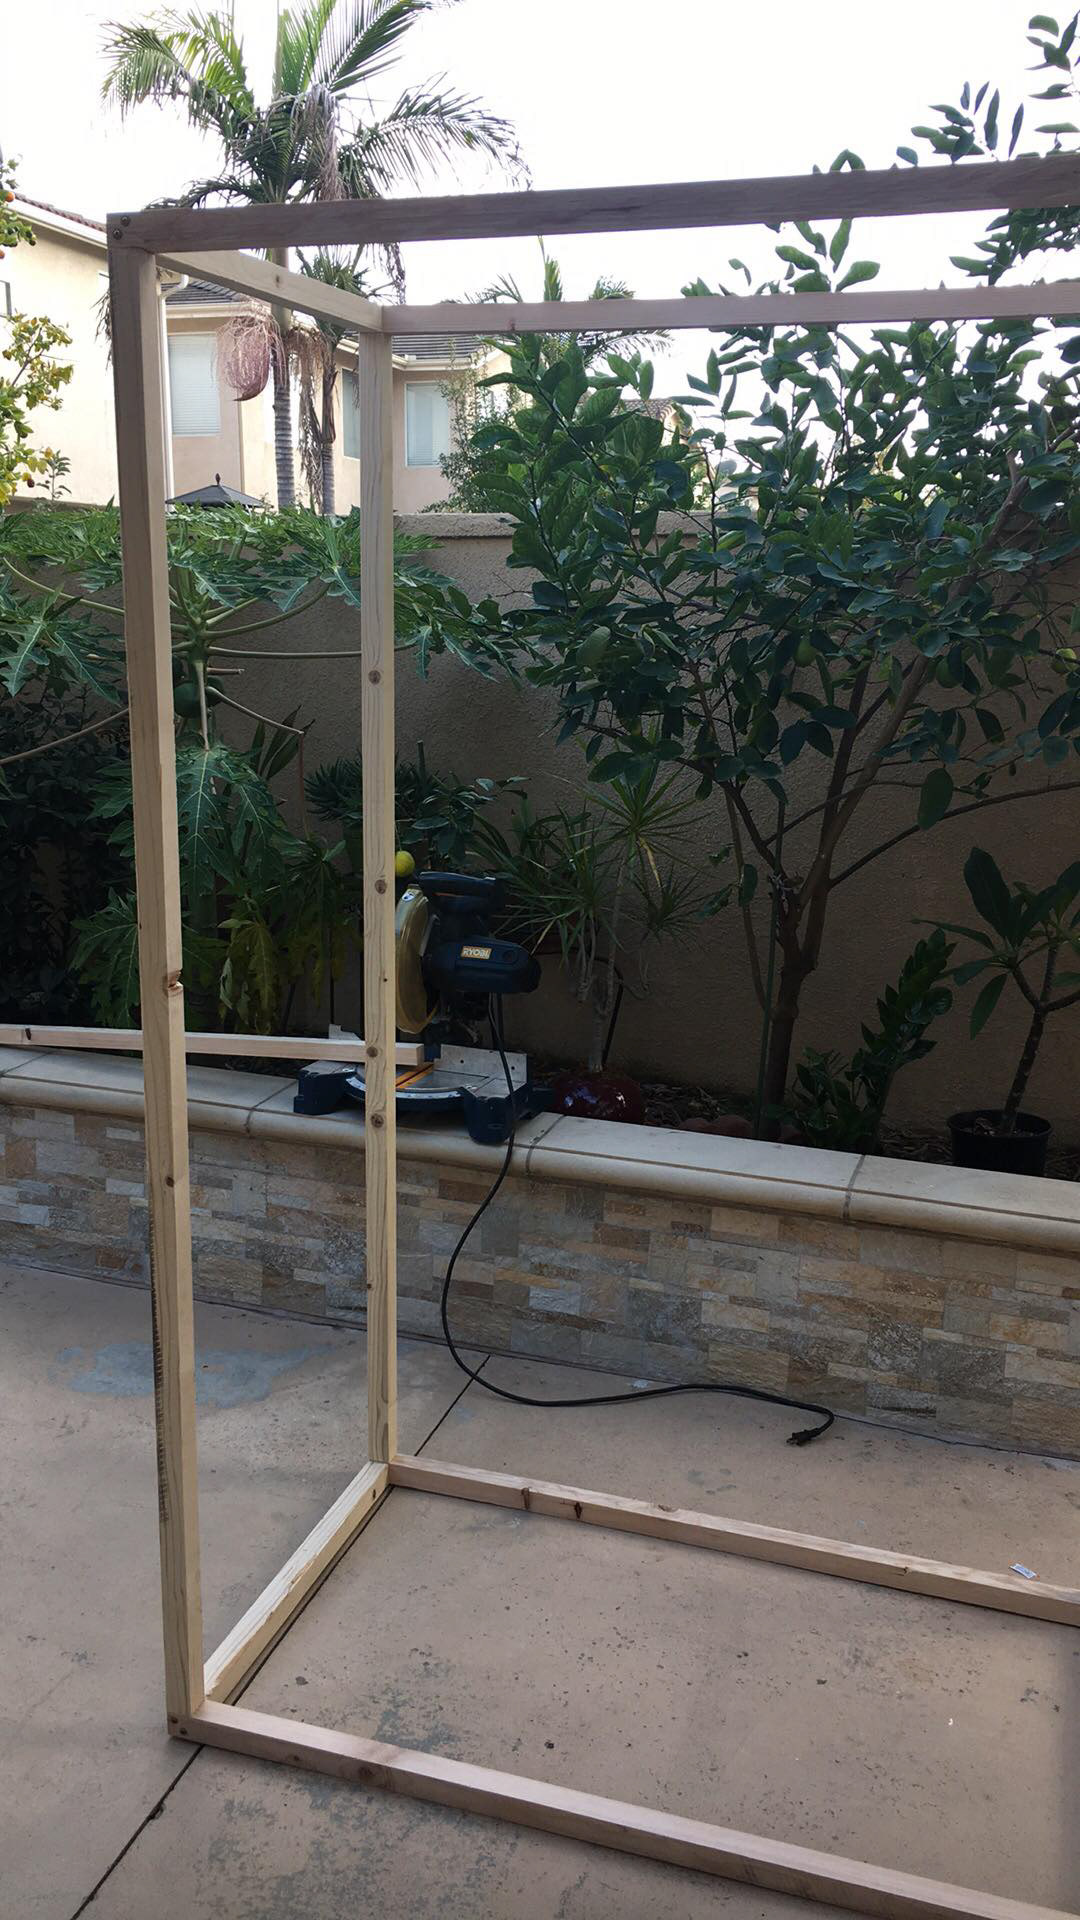
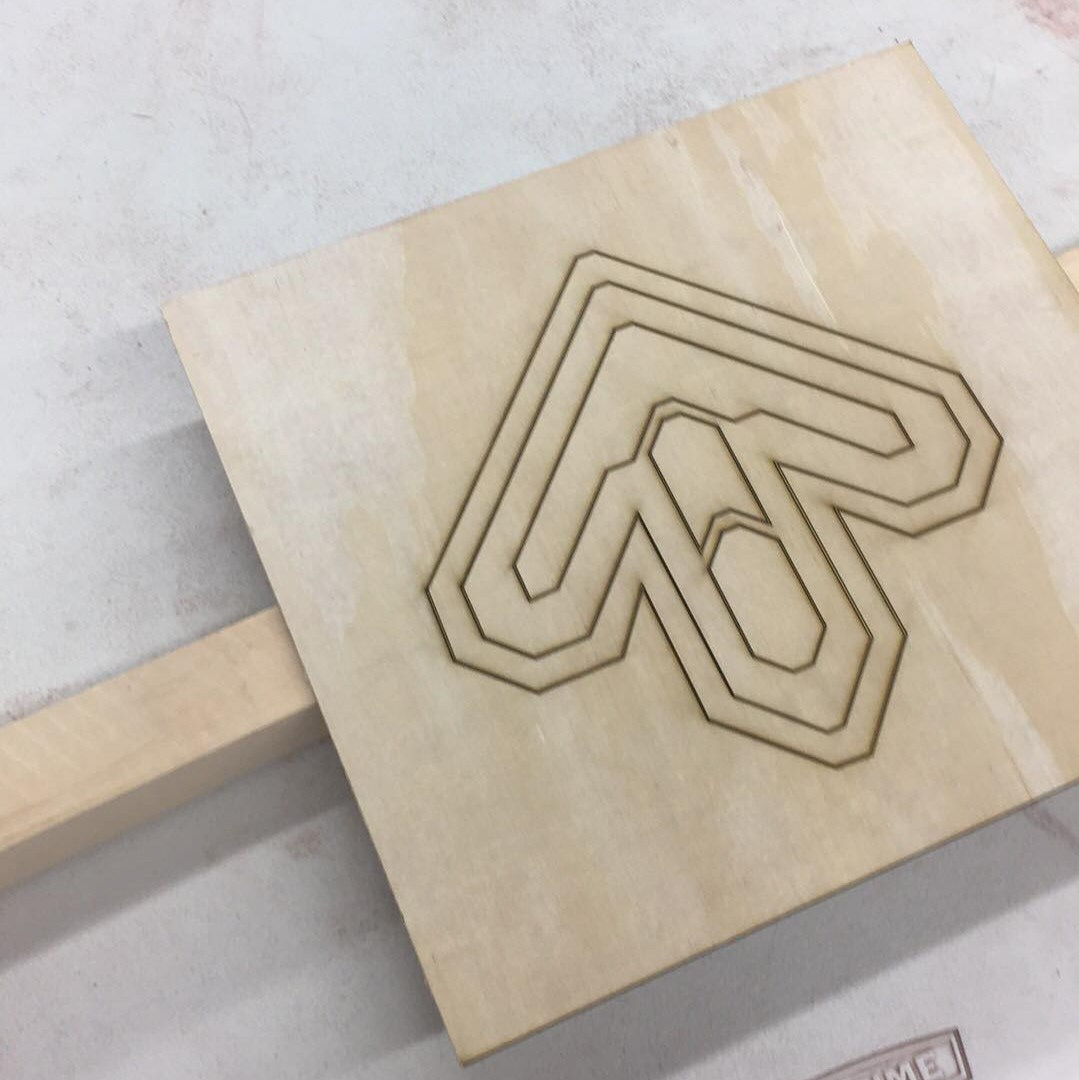
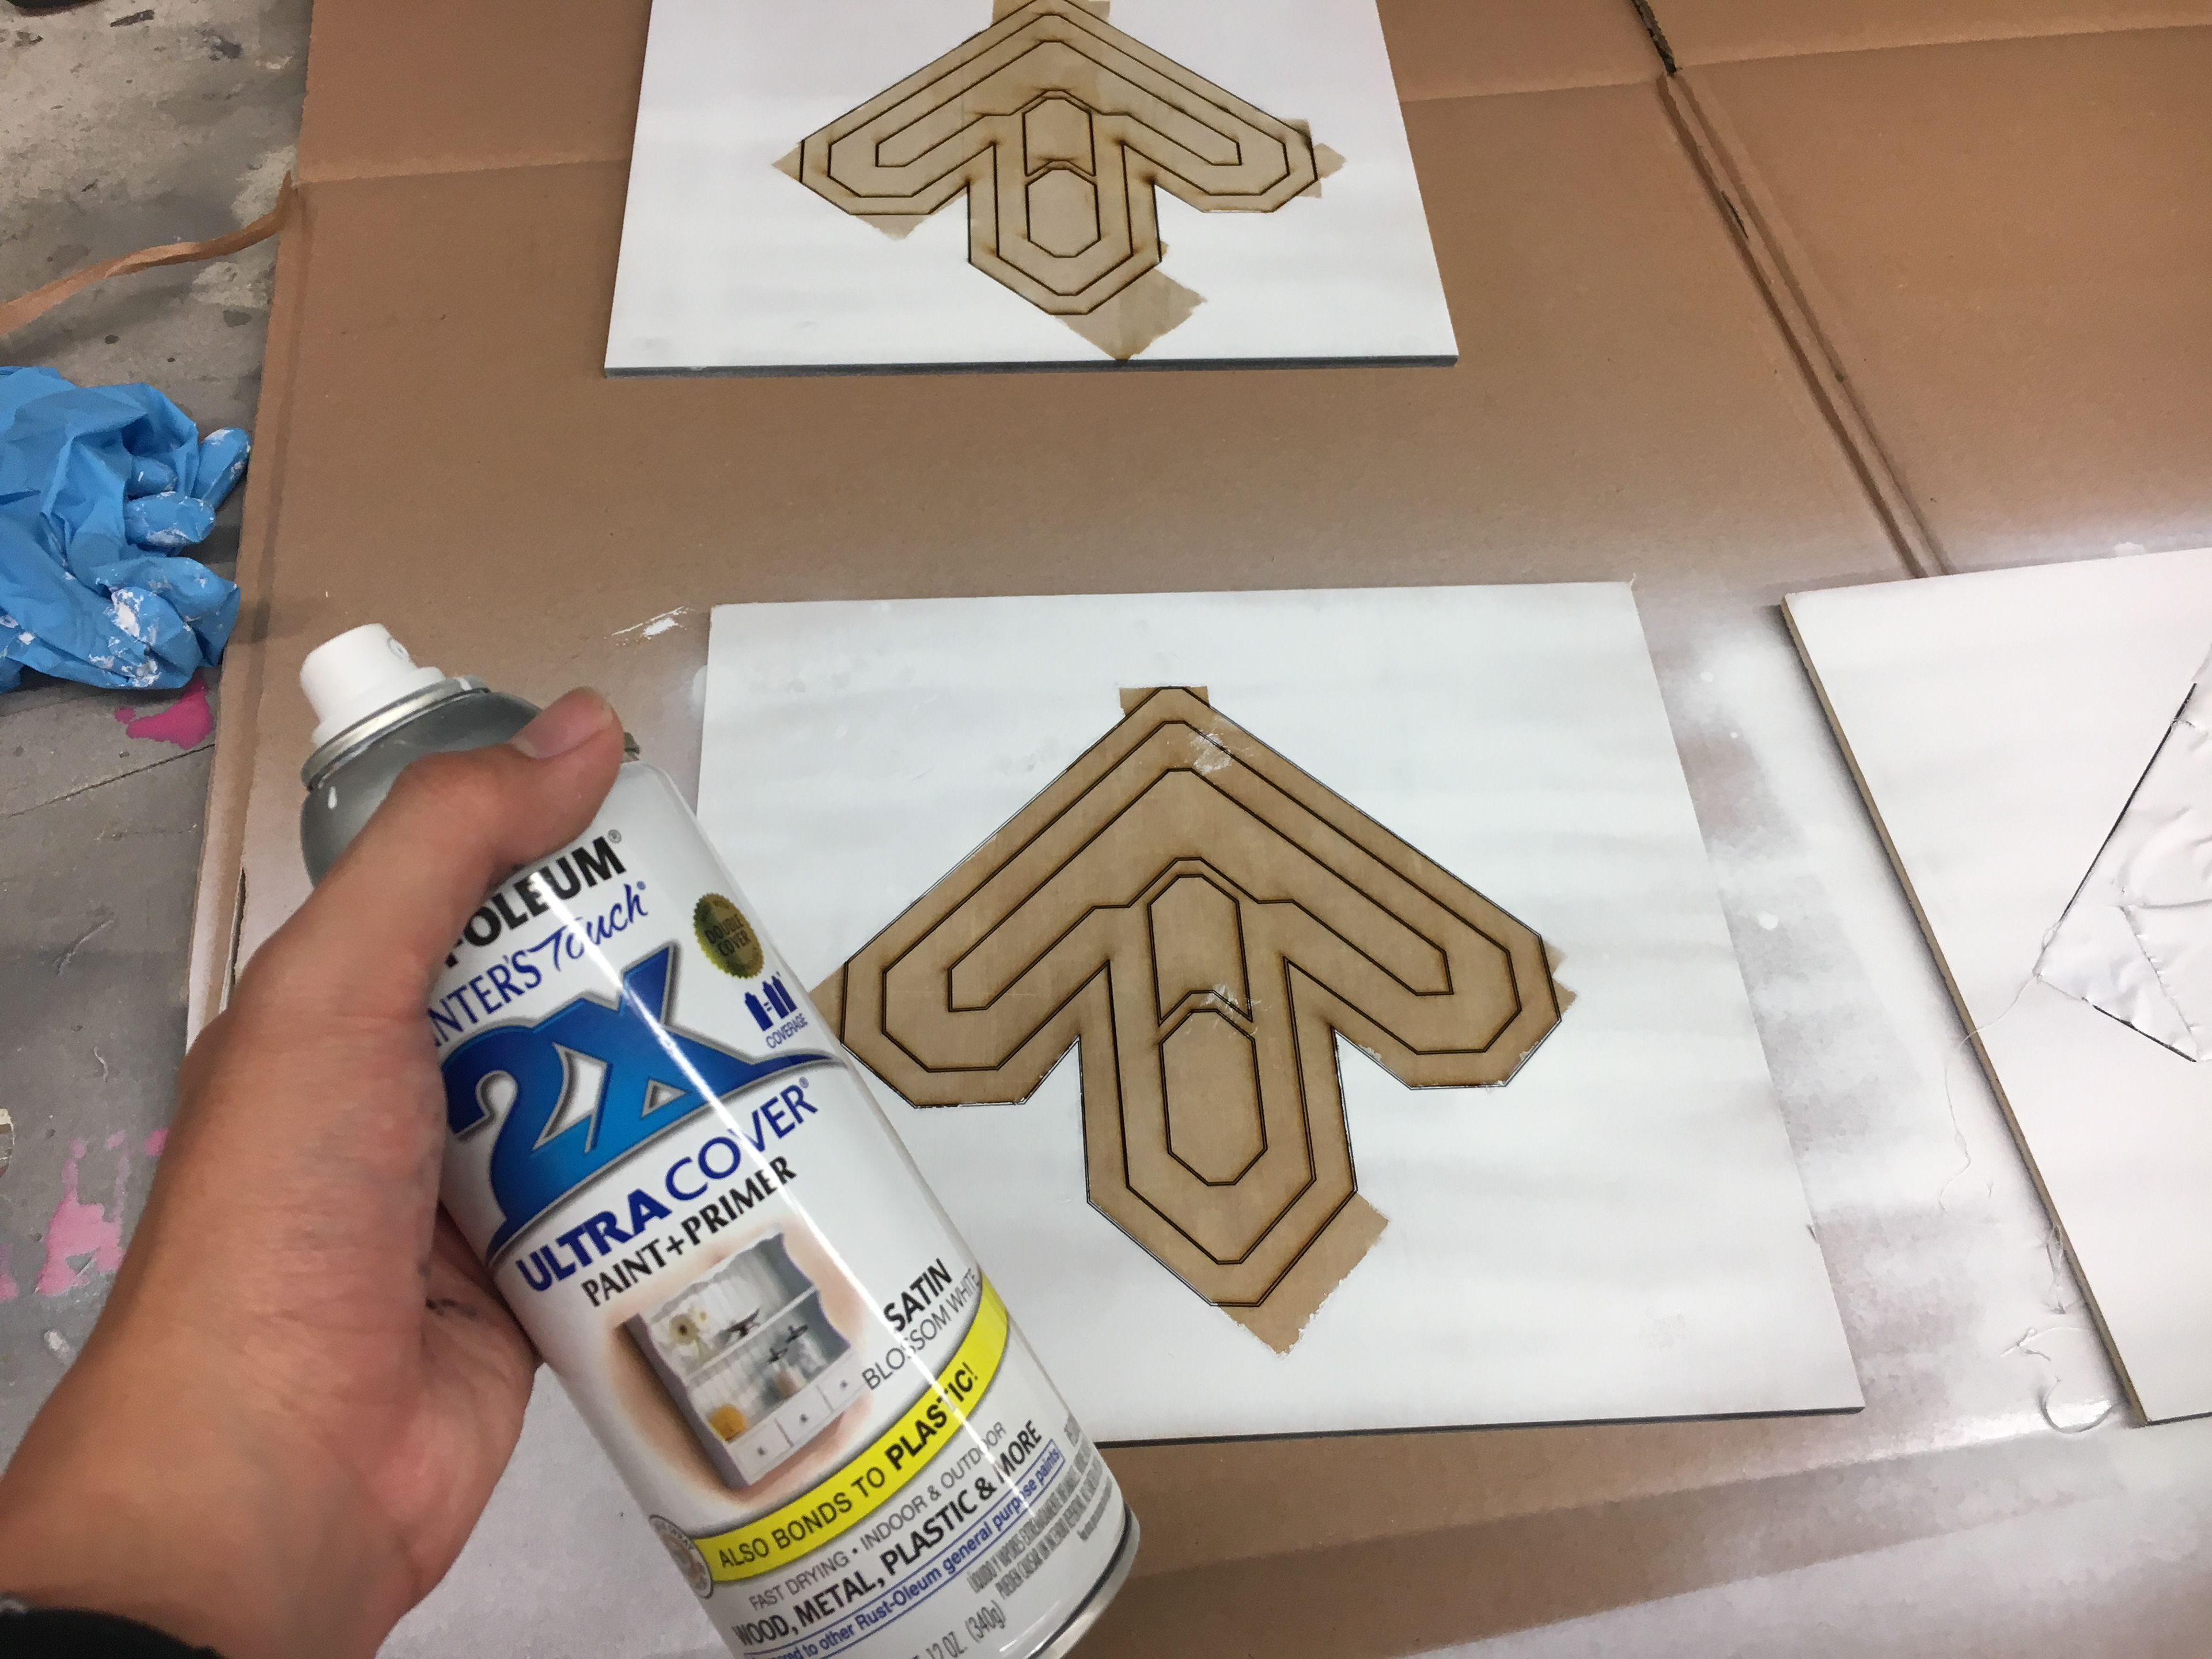
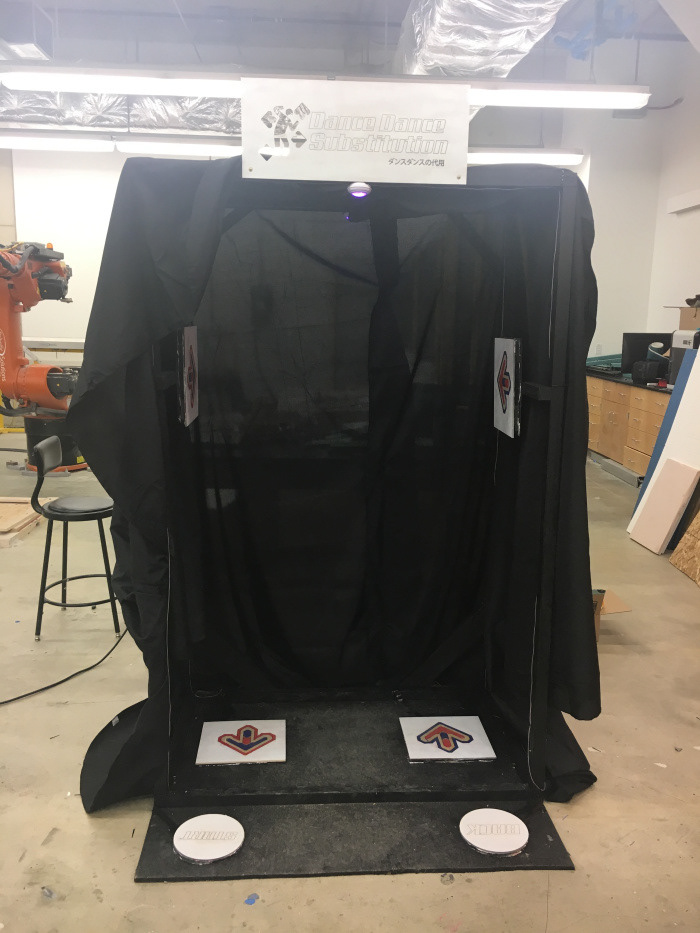
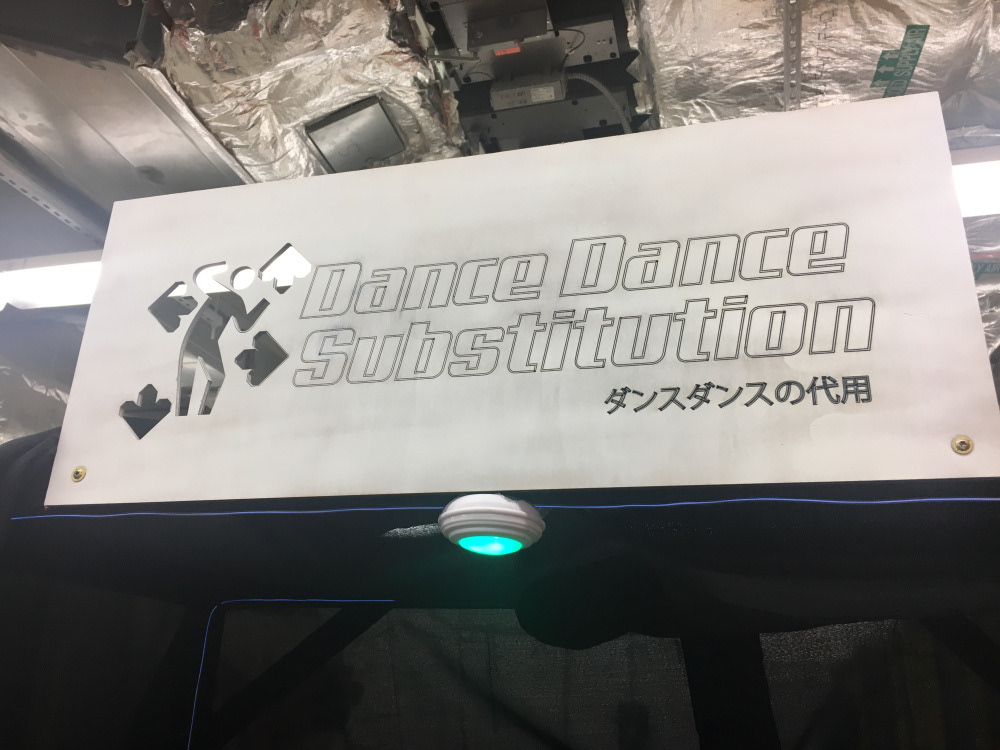
After gathering materials, such as wood, spray paint, and hardware tools, we began our long days in the maker studios on campus. We began by working on the frame of the controller, adding enough screws to ensure it is sturdy enough to not collapse on the player if pushed with too much pressure. After its initial assembly, we took it down so that we could spray paint all the wood black. During all this, we also worked on designing the buttons and sign for the controller in Adobe Illustrator, and had them laser engraved onto excess wood we had. Afterwards, we spray painted them as well.
After gathering materials, such as wood, spray paint, and hardware tools, we began our long days in the maker studios on campus. We began by working on the frame of the controller, adding enough screws to ensure it is sturdy enough to not collapse on the player if pushed with too much pressure. After its initial assembly, we took it down so that we could spray paint all the wood black. During all this, we also worked on designing the buttons and sign for the controller in Adobe Illustrator, and had them laser engraved onto excess wood we had. Afterwards, we spray painted them as well.
Phase 4: Circuitry
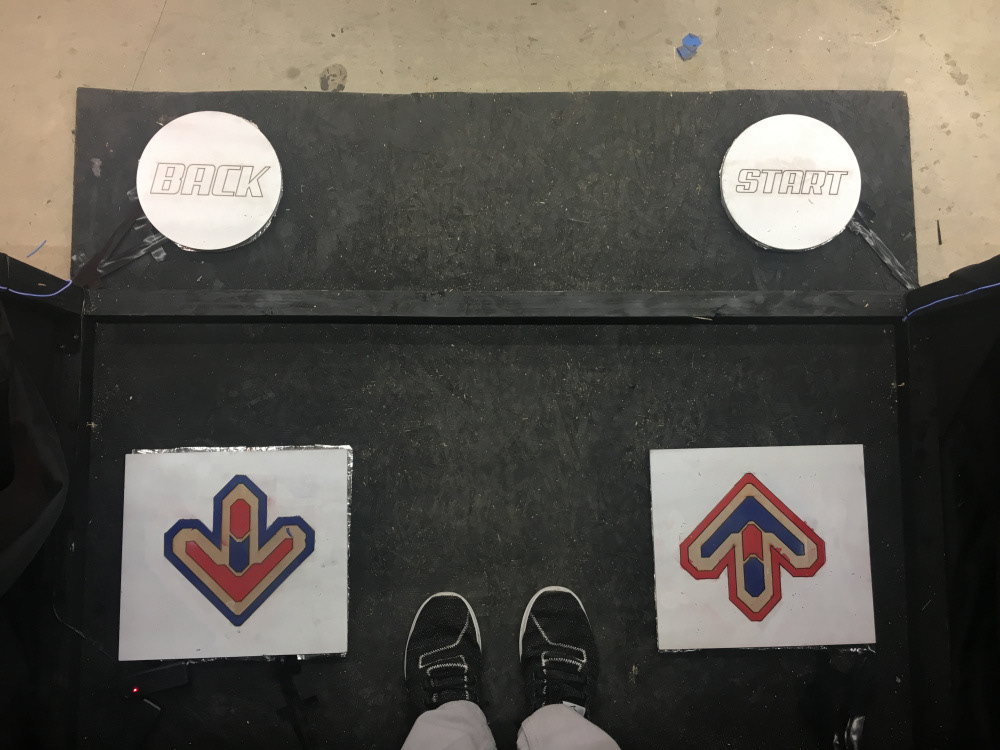
Once all physical and visual components have been completed and assembled, the last thing to work on was figuring out the wiring. Using the method we had with testing the ArduinoLeonardo in Phase 1, we substituted the cardboard for the engraved wood buttons we made instead. Using tons of feet of copper wires hooked up to the breadboard (which hid on top of the controller), we wired all 6 of the buttons to it, hiding all wiring behind the wood and securing it with black electrical tape, to camouflage with the black wood and cloth. Finally, to add some extra fun visual flare, we installed flashing LED lights and buttons – now it's a real party!
Once all physical and visual components have been completed and assembled, the last thing to work on was figuring out the wiring. Using the method we had with testing the ArduinoLeonardo in Phase 1, we substituted the cardboard for the engraved wood buttons we made instead. Using tons of feet of copper wires hooked up to the breadboard (which hid on top of the controller), we wired all 6 of the buttons to it, hiding all wiring behind the wood and securing it with black electrical tape, to camouflage with the black wood and cloth. Finally, to add some extra fun visual flare, we installed flashing LED lights and buttons – now it's a real party!
– Credits –
Justin Gamiao, Reno Kim, Jake Scheuler